Kiln drying, cutting, and gluing wood for a cutting board involves several steps to ensure a high-quality and durable end product:
- Wood Selection: Choose hardwoods such as maple, walnut, cherry, or ash, known for their durability and tight grain structure. The wood should be properly seasoned and free of knots, cracks, and defects.
- Kiln Drying: Kiln drying is a controlled process that reduces the moisture content of the wood to an optimal level. Properly dried wood helps prevent warping, cracking, and other issues. The wood is placed in a kiln where temperature and humidity are carefully controlled over a period of time until the desired moisture level is achieved.
- Cutting: Use precise measurements and a saw to cut the dried wood into individual strips or pieces. The strips are typically oriented with the grain running lengthwise for stability. Pay attention to the direction of the wood grain to ensure strength and prevent splitting.
- Planing and Sanding: Each cut piece is planed to ensure uniform thickness and smooth surfaces. Sanding follows to remove any rough edges, marks, or imperfections. This step prepares the wood for gluing.
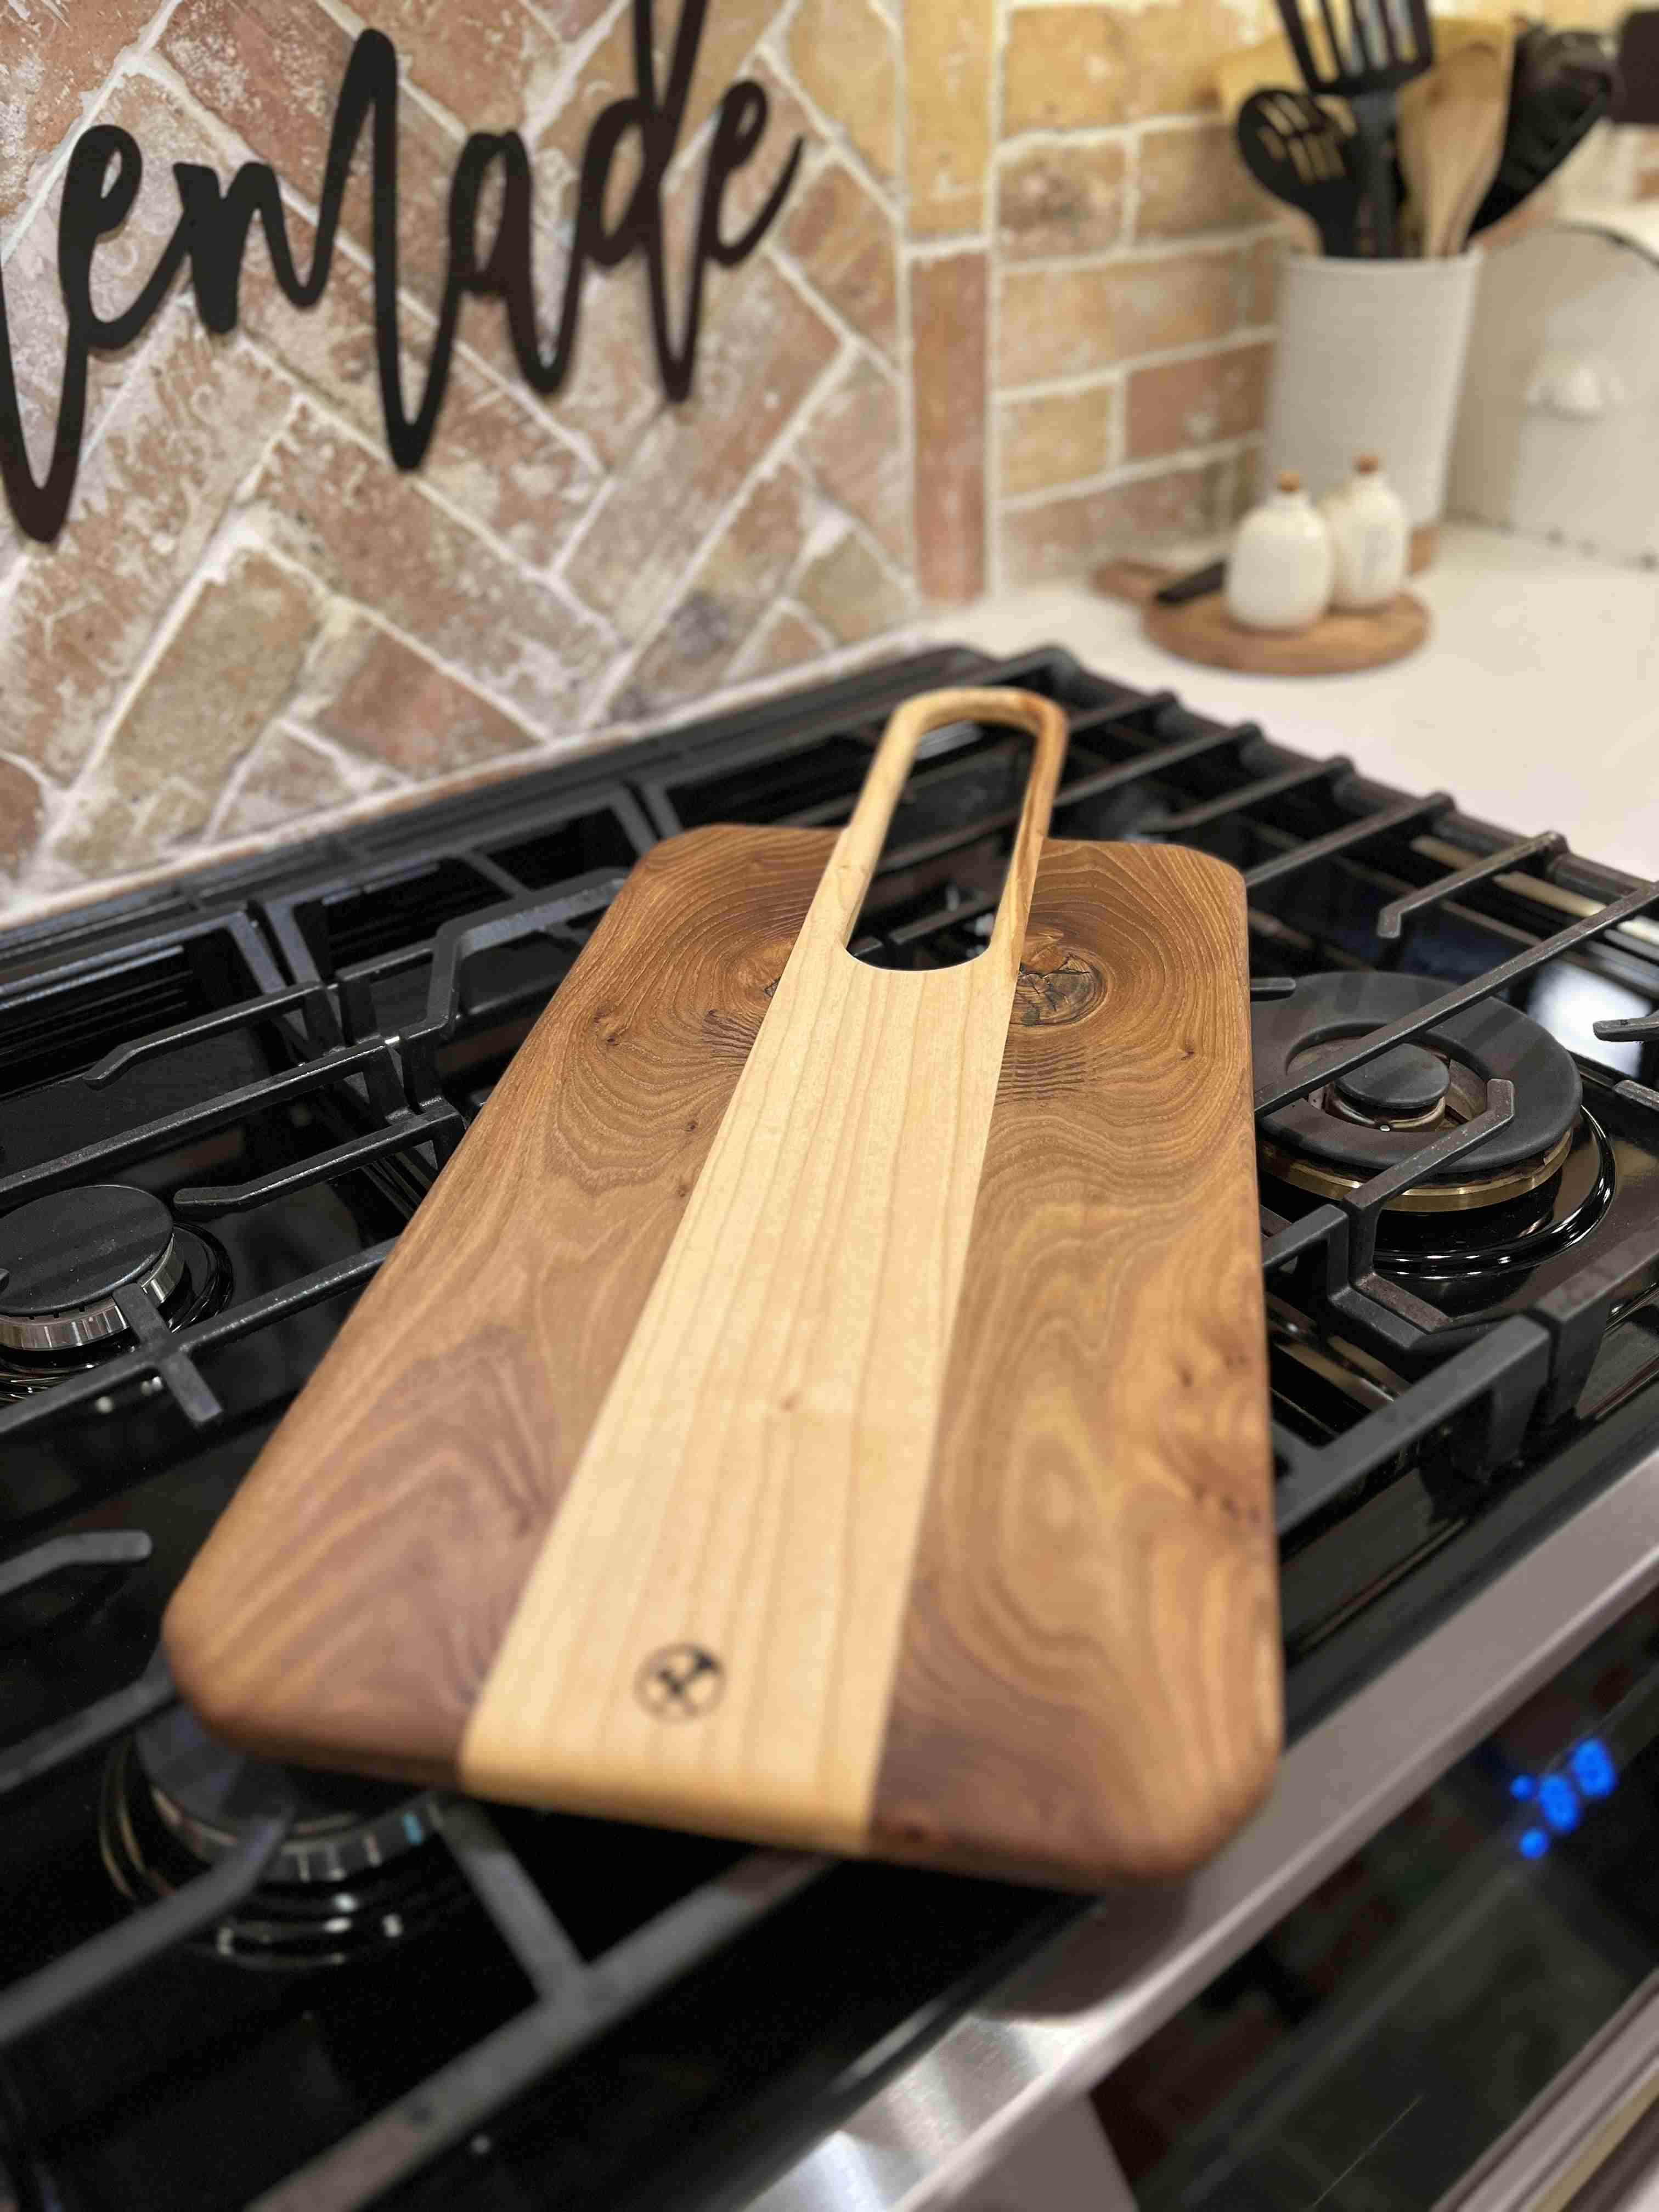
- Gluing: Apply a food-safe and waterproof wood glue, such as Titebond III, along the edges of the cut pieces. Arrange the pieces side by side to create the desired pattern for the cutting board. Apply even pressure using clamps to bond the pieces together. Excess glue should be wiped off immediately.
- Clamping and Drying: Clamp the glued pieces tightly to ensure a strong bond. Allow the cutting board to dry for the recommended curing time specified on the glue’s label. This step is crucial to ensure a solid and durable joint.
- Finishing: Once the glue has fully cured, the cutting board is planed and sanded again to achieve a smooth, level surface. Apply a food-safe finish, such as mineral oil or a combination of mineral oil and beeswax, to protect and enhance the wood’s appearance. Allow the finish to fully penetrate the wood before wiping off any excess.
By following these steps, you can create a well-crafted and durable cutting board that not only serves its functional purpose but also showcases the beauty of the wood and craftsmanship.


